Archive

Tag Archives: Carpenter

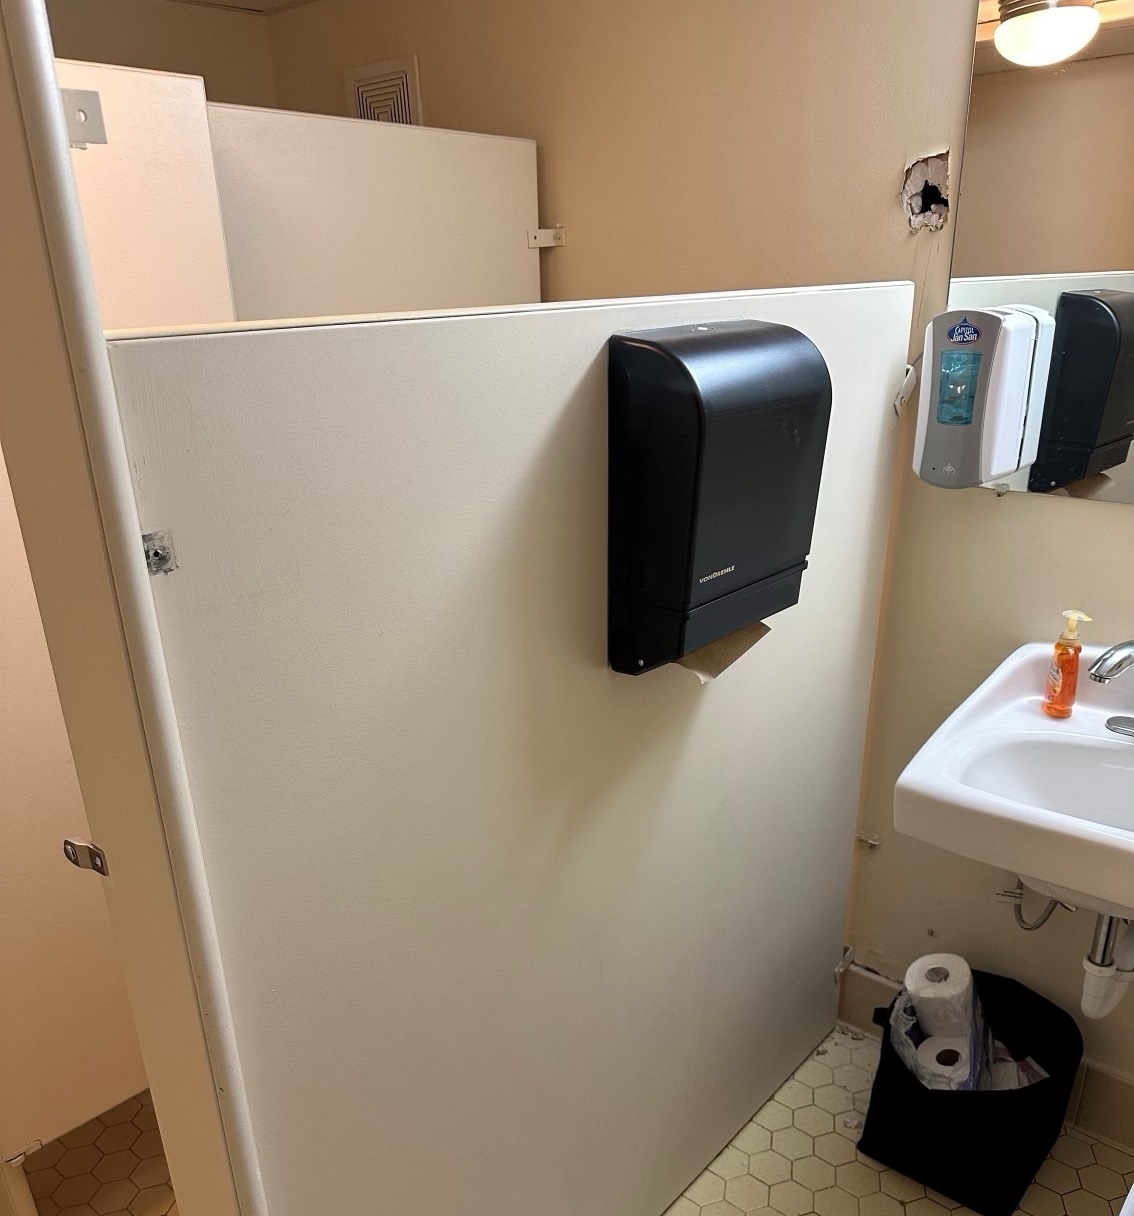
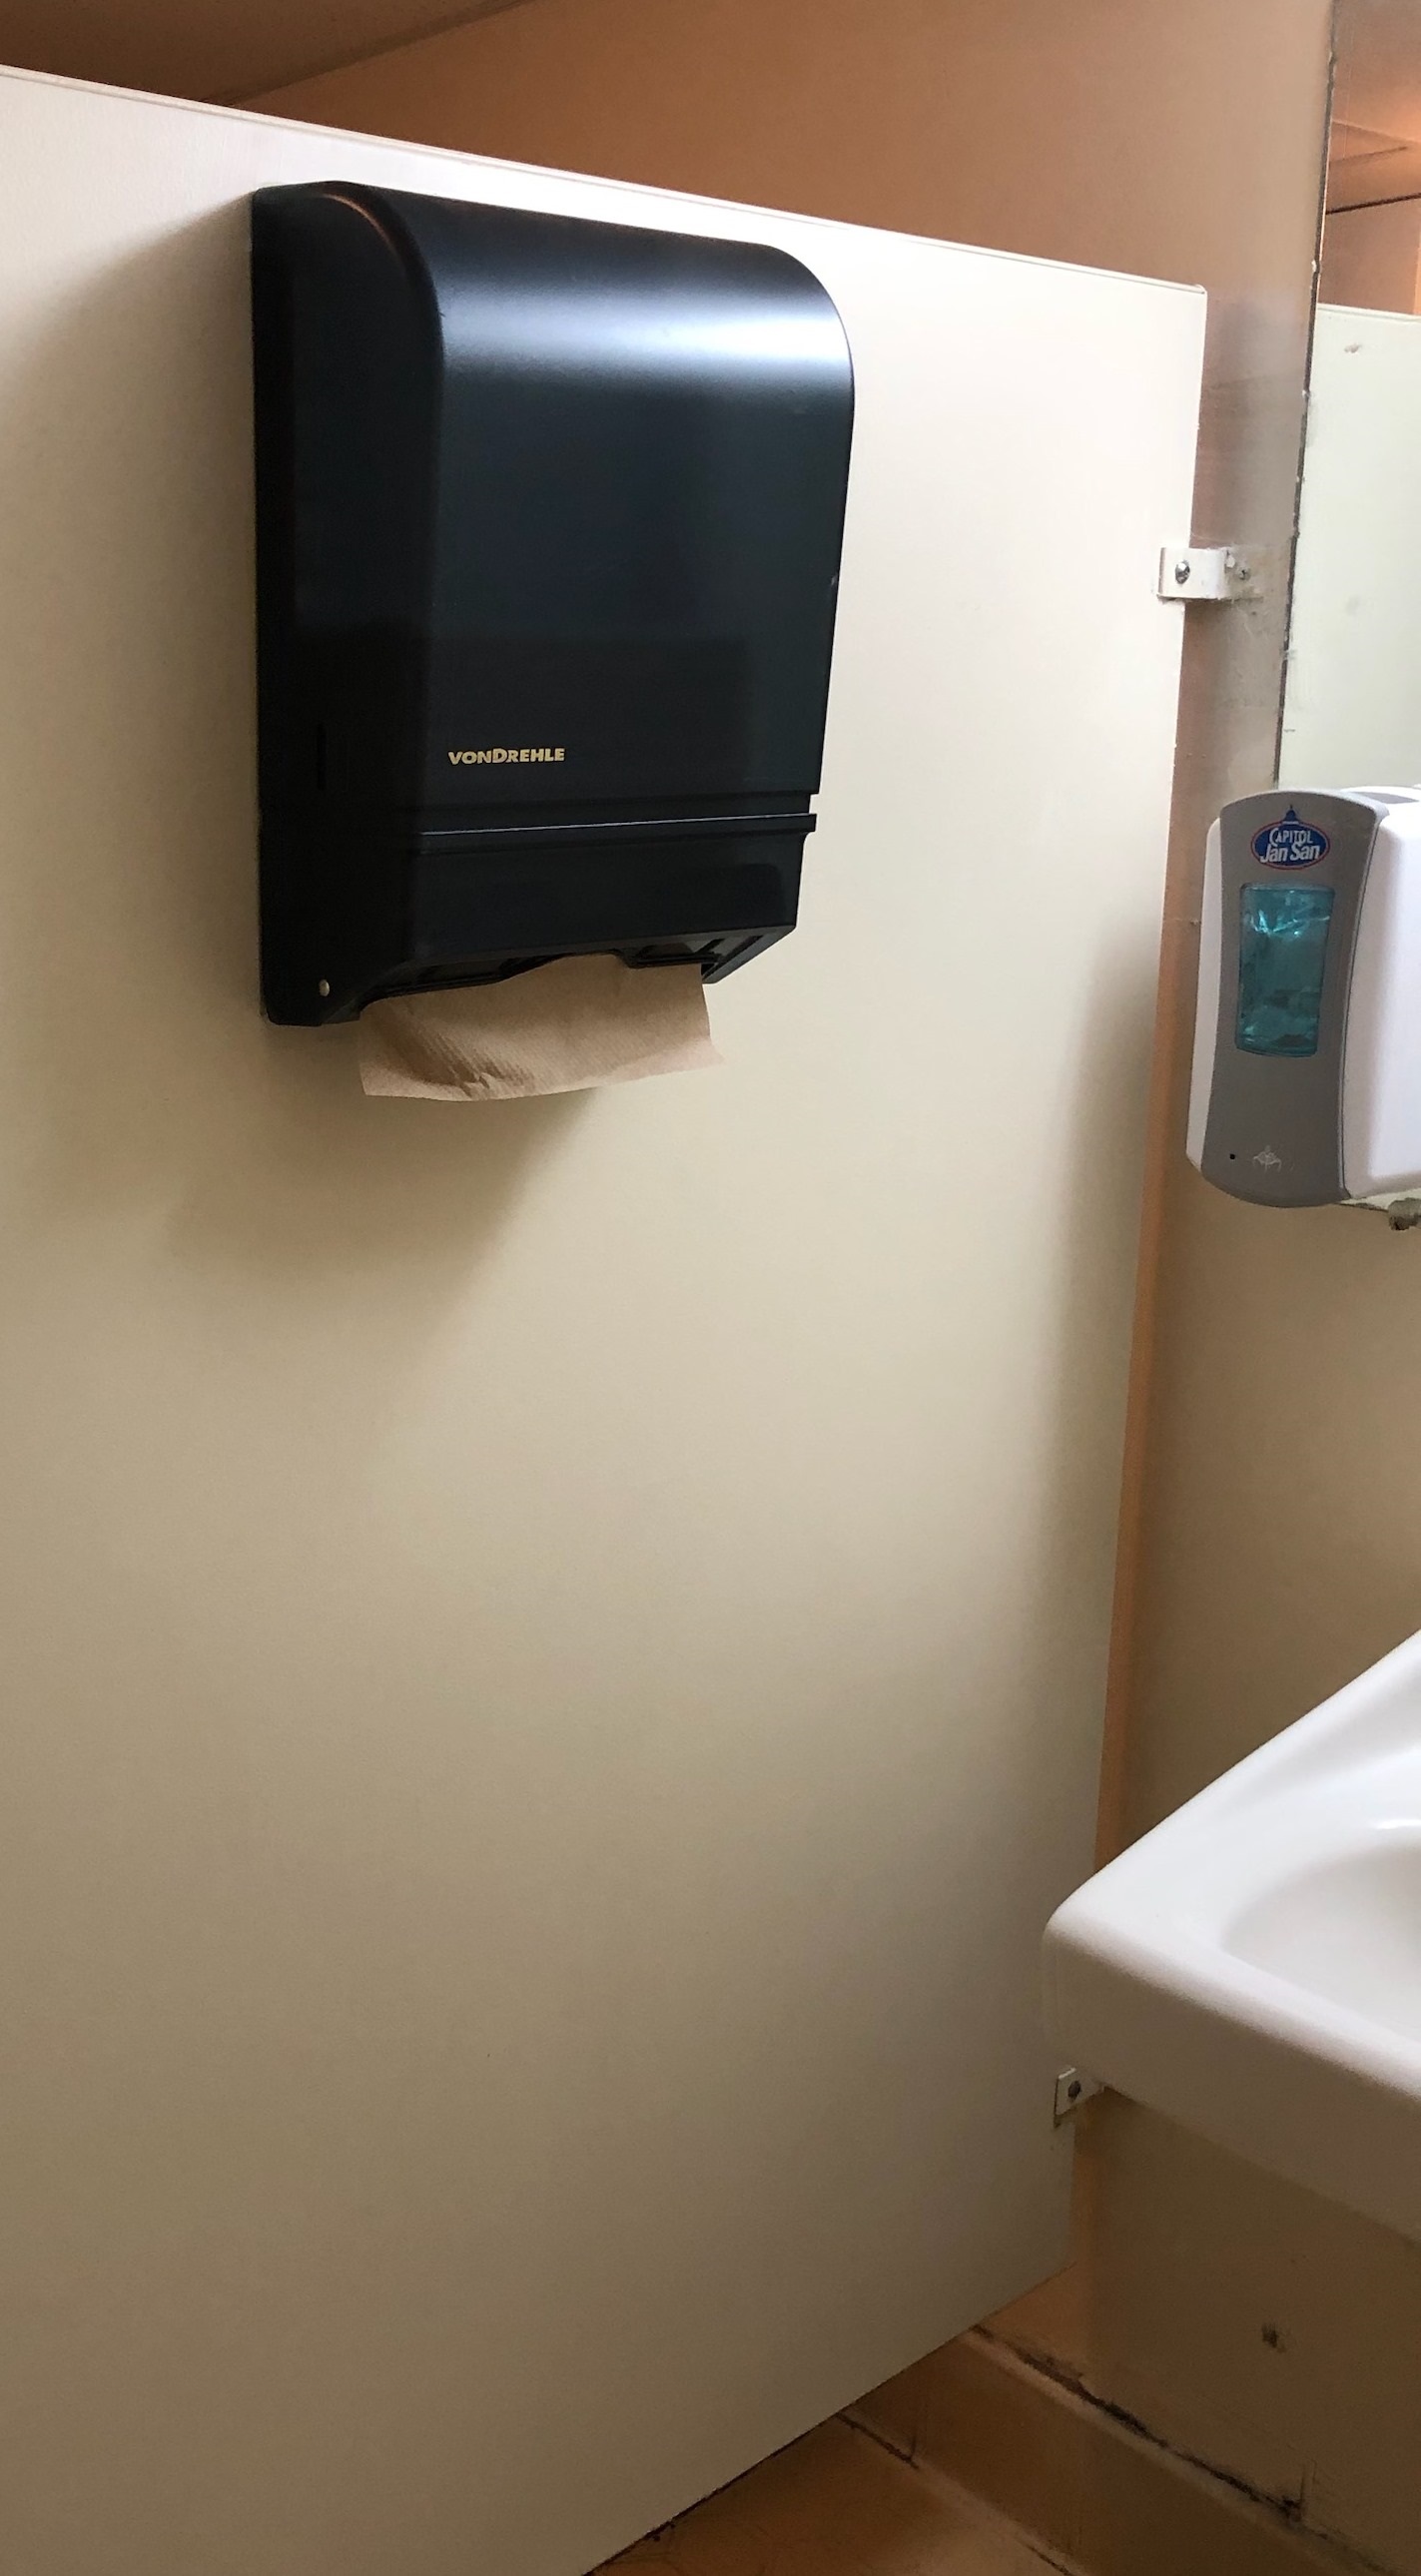
Not something that happens every day. A commercial bathroom panel completely detached from the wall!

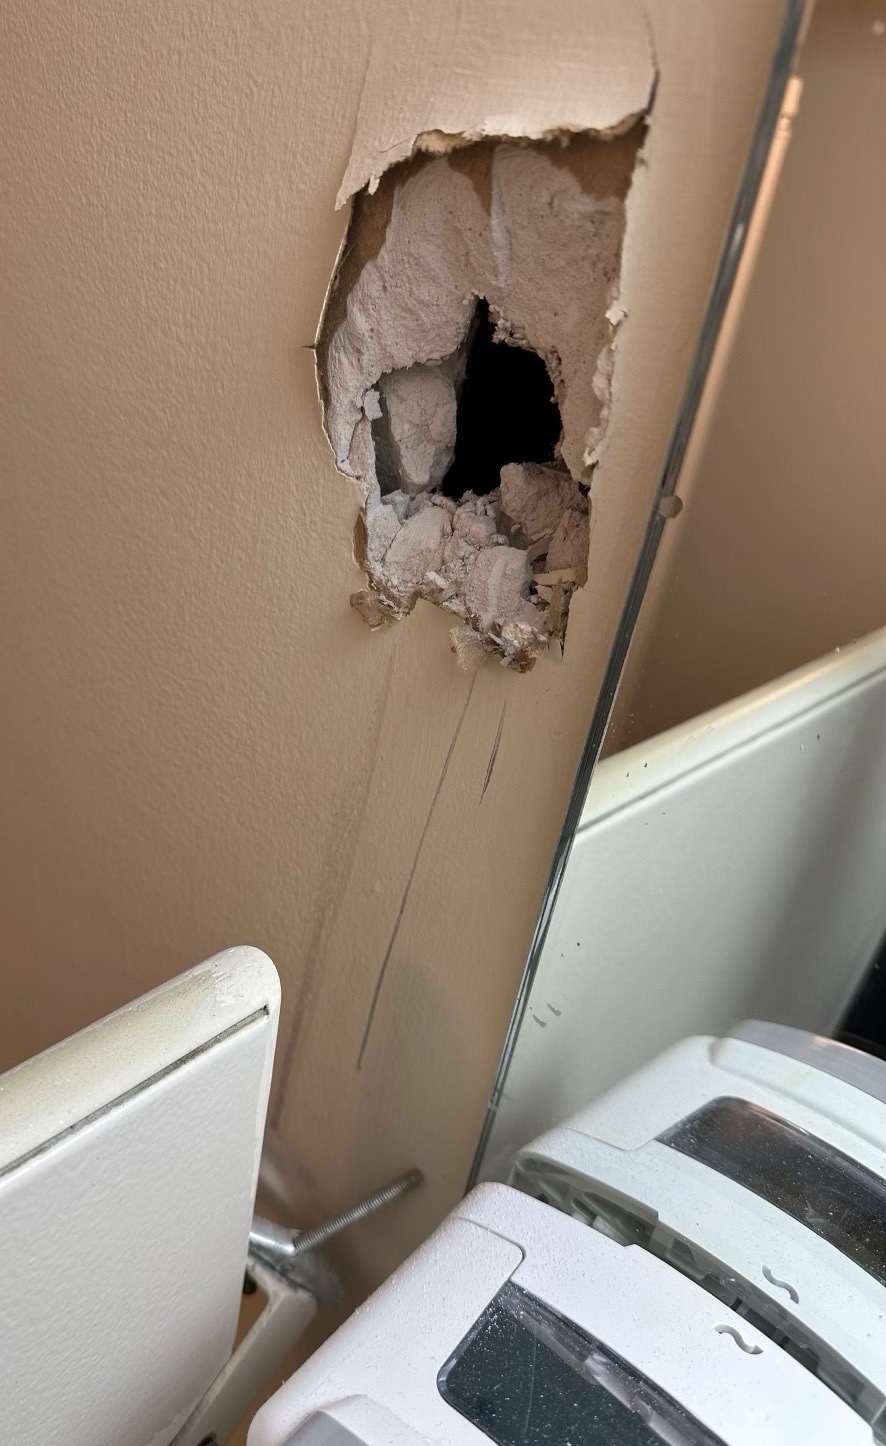
Pretty large hole from the original anchor bracket screws!

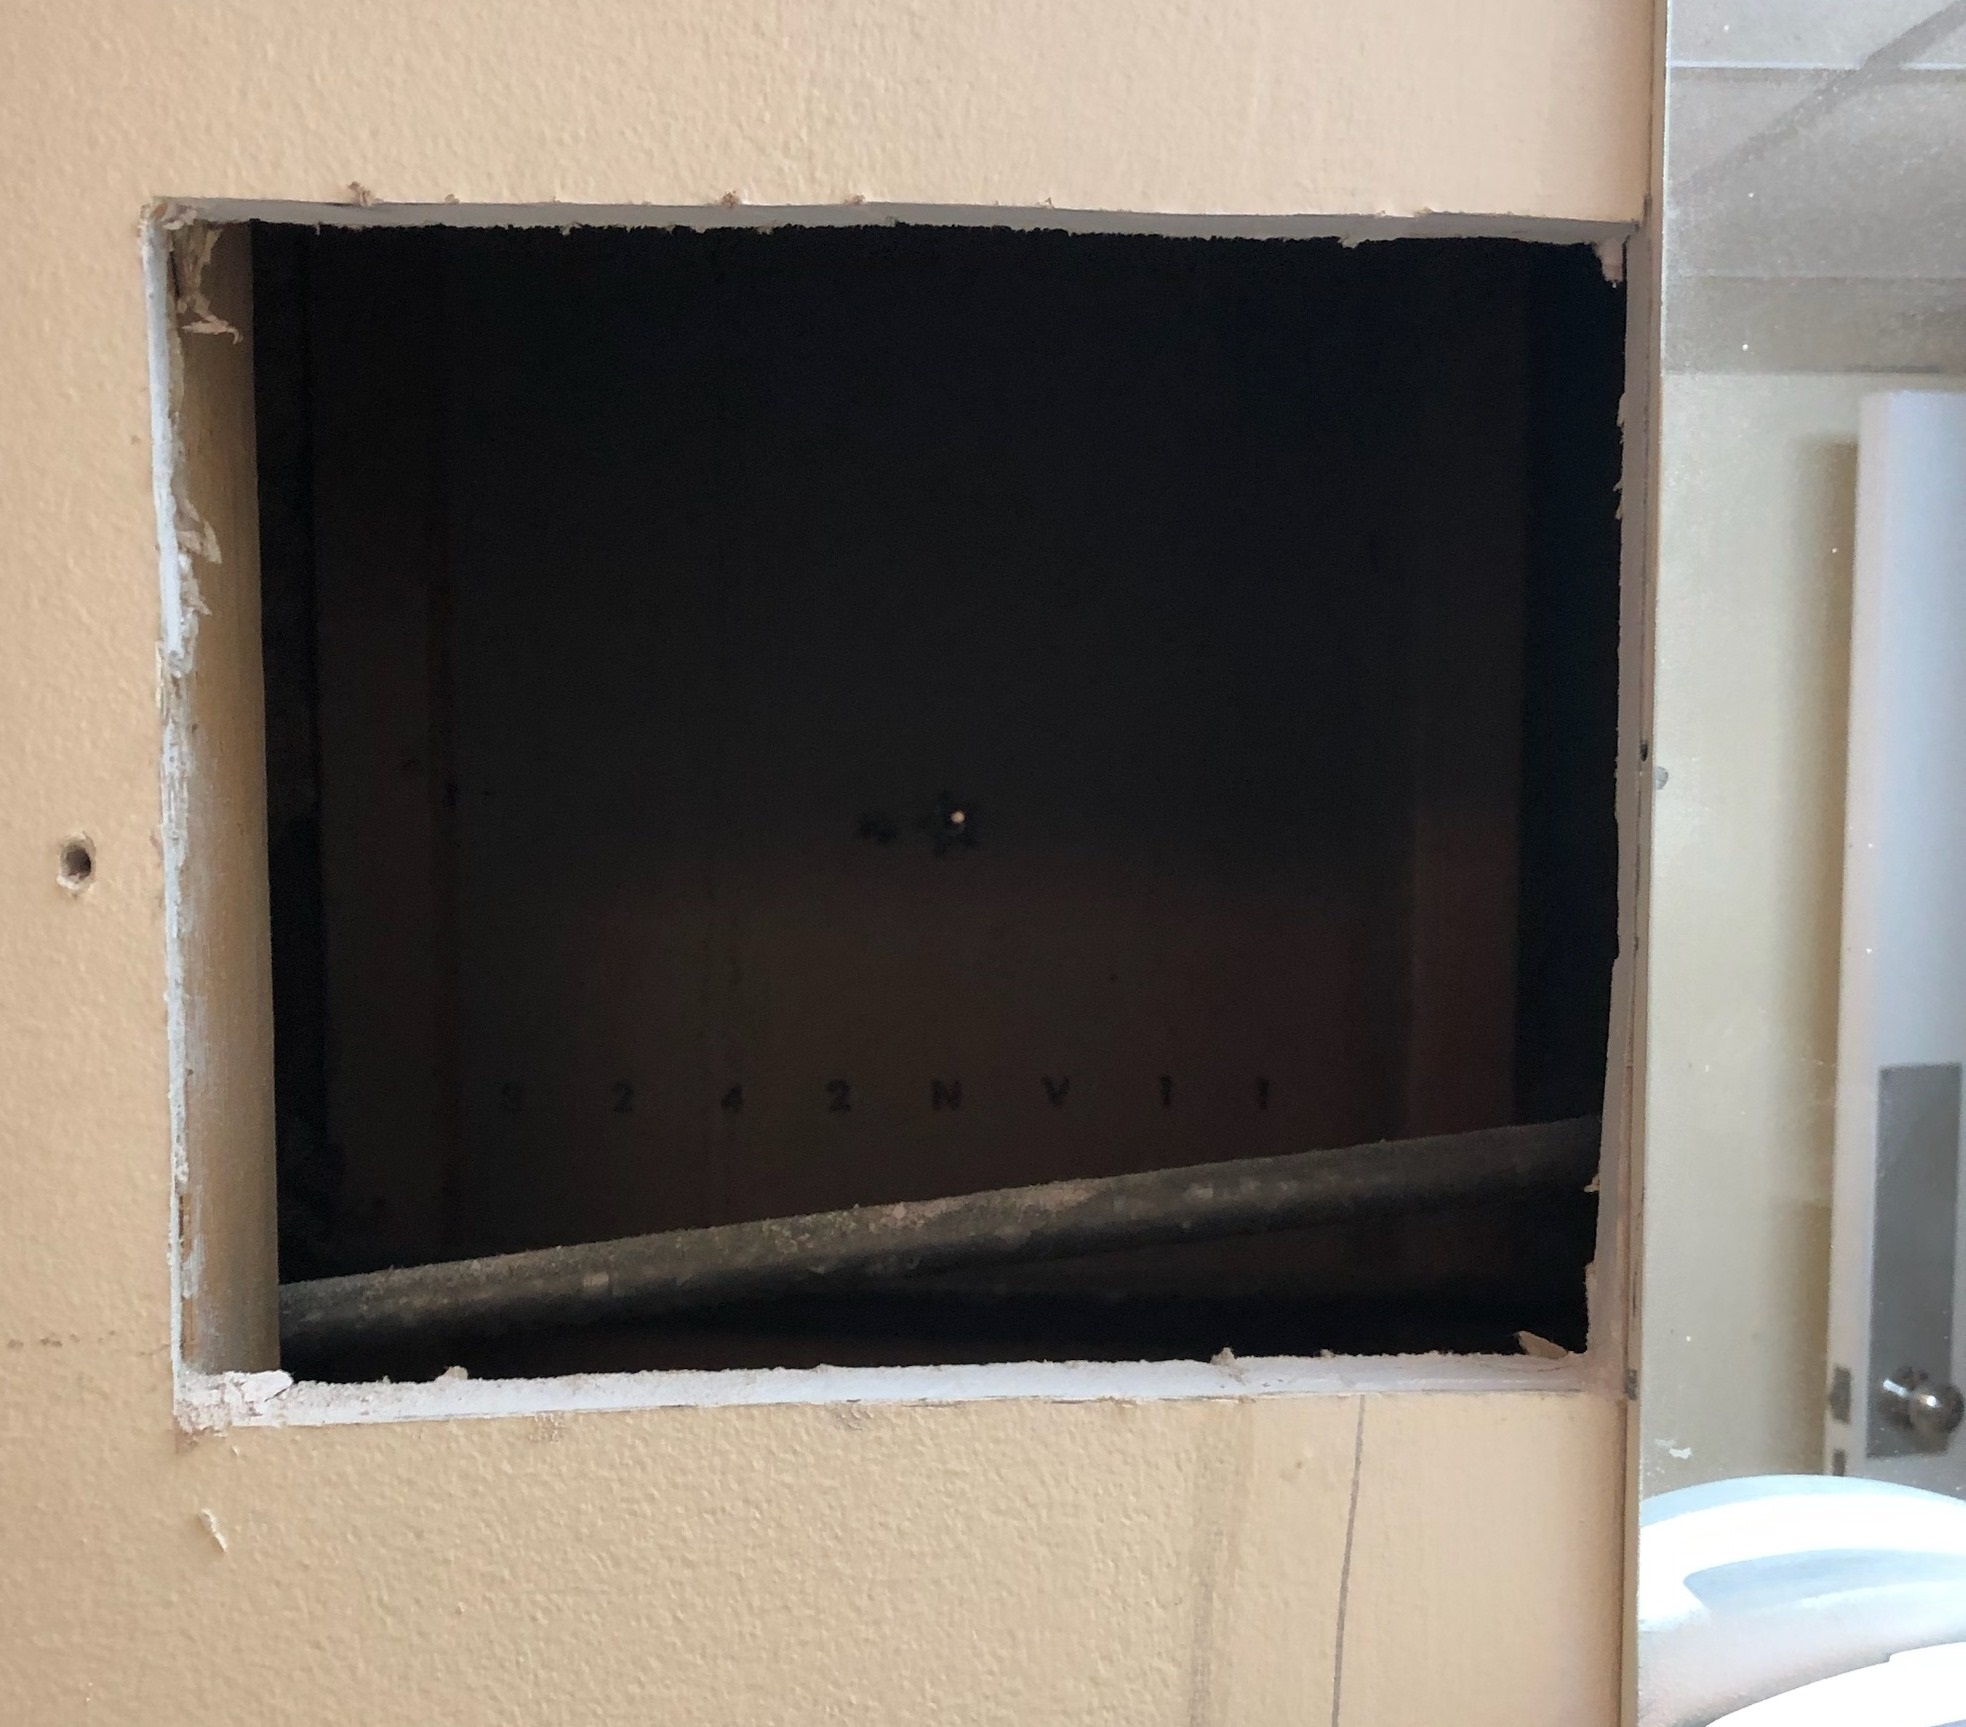
No worries, a hole big enough to run a plywood cleat from stud to stud should? be a secure and permanent attachment.

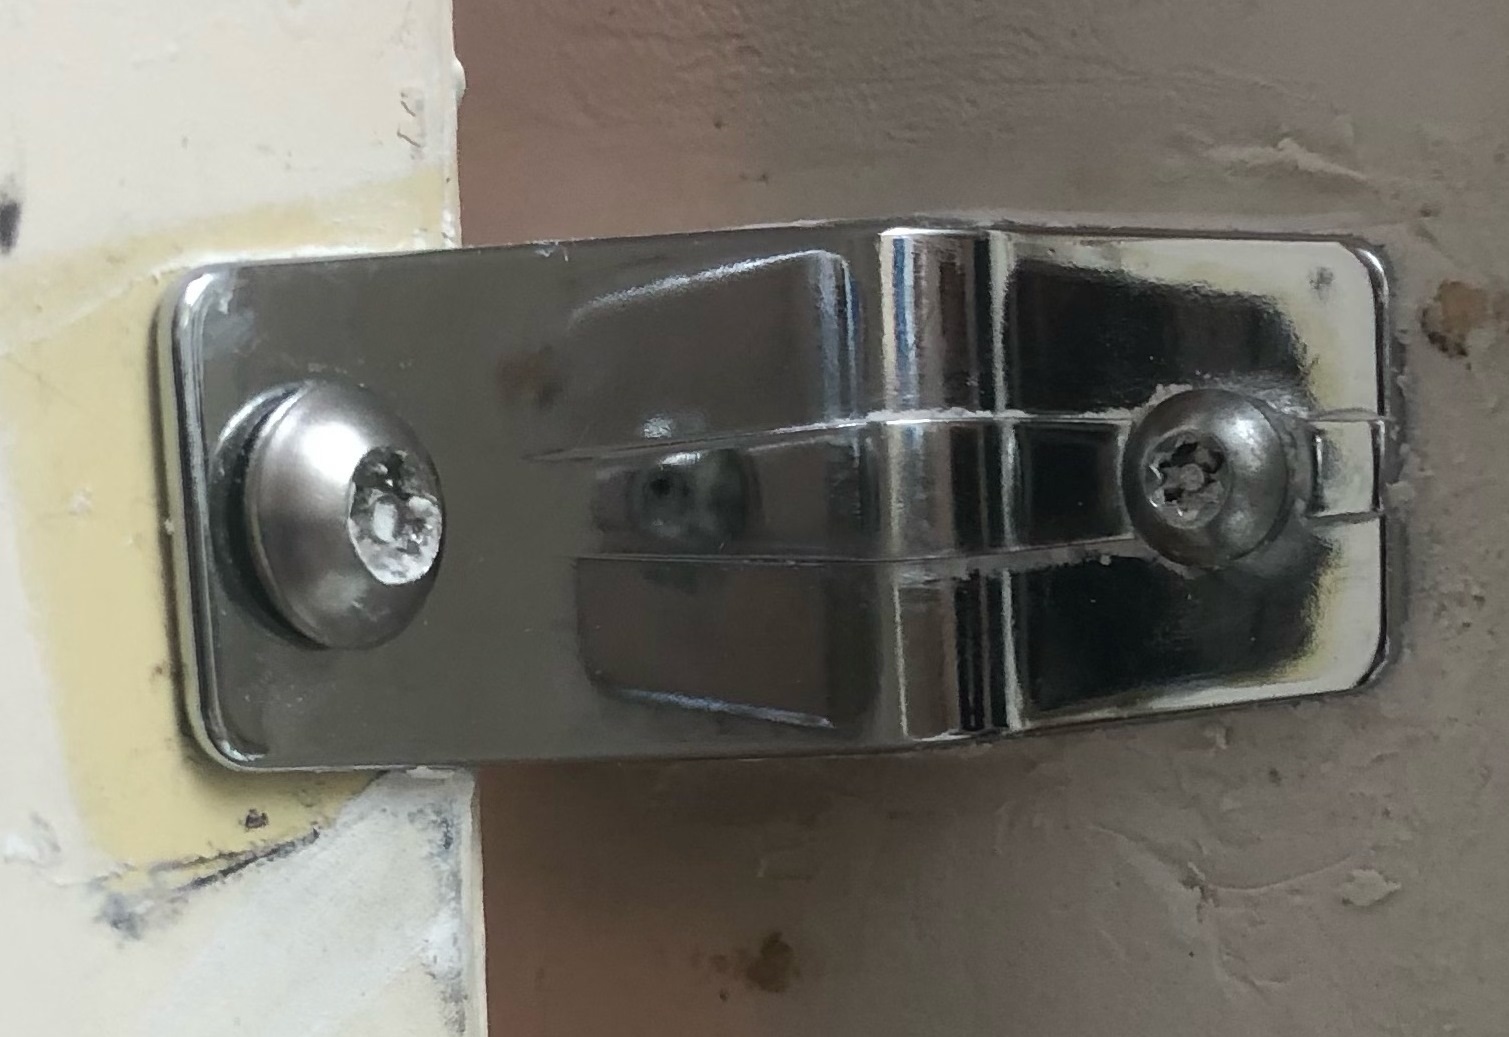
A brand new shiny wall bracket attached with security screws……

And voila! Mission accomplished! Just another day at the office!

(AFTER Picture- A Generous,Comfortable Platform Design)
Platform Replacement Step

Sometimes the old fashioned step design is not really adequate for the needs of the household.
A slight change of technique results in completely different user experience.

(Before Picture- Cramped, rotten, uneven stringer design)

Old School Steps (Before)

ViviLnk

There are many ways to upgrade dysfunctional step designs in carports and backyards.

Four examples from the archives: CLICK LINK (Deck Over Backdoor Steps) CLICK LINK (Carport examples) CLICK LINK (Entry Stoop Rework Platform) CLICK LINK (Trex Replacement Treads)

Call me to redesign your problem steps! (919) 834-4833

So factory replacement sashes are adrift in a blizzard of bureaucratic paperwork and the damaged sash on the house is literally melting into mush minute by minute in plain sight.

What to do? Board up the window for an interminable interim? Or find a tricky way to stabilize the damaged section? Choice the second was not that difficult. Ordinary stock off-the -shelf moulding ripped down to size and overlayed on solid sash pieces protected and stabilized the damaged part.

The channel formed by the overlay was filled with old timey glazing compound for an attractive and robust repair.

When the replacement sash finally arrives the damaged sash can be removed in one piece and the new sash dropped into place.

A unique and inexpensive solution for a somewhat intractable problem!

Remember this? (Click LINK HERE)

Me Too! Seems like only yesterday, but actually 2 years of various projects have passed into the archives!

For some reason big dogs need to have doggie hatches installed in steel doors.

The only difference with this year’s new adventure was to encapsulate the old tiny doggie door in the cut out for the new BIG doggie door.

And, as with the previous installation, a custom shop made template was an invaluable guide for the oscillating multi-tool.

If you have a big doggie door hatch problem, give me a call. I have experience.

(919) 834-4833

A classic conundrum.

The new appliance is just slightly larger than the old range top. Approximately one half inch must be trimmed from each side. The cuts must be neat, precise and accurate for best visual results.

Hardly a job for a Sawzall ,jig saw, circular saw or router. The Oscillating Multi-Tool however, is perfect. With a straight edge guide clamped in place the little finish tool slowly leaves a perfect kerf.

New range unit fits perfectly.

Other Multi-Tool applications:

CLICK THIS LINK or

CLICK THIS LINK or

CLICK THIS LINK or

CLICK THIS LINK

While I am not necessarily a fan of major modifications to clear fir solid wood legacy doors,
this was a fun project and consistent with the type of work I was asked to do back when
when such doors were widely available and relatively inexpensive.

Do not try this with a foam filled hollow core fiberglass or steel door! While anything
is possible, solid wood remains the simplest and best choice for this type of modification.
Anything else could be cost prohibitive.

Now the wait for squirrel Godot begins!

Remember old timey Bullseye Moulding Crossheads? Sure you do. You see them in every
old timey cowboy movie.

In the 21st Century Bullseye Moulding Crossheads can be used over every garage door where
water damage mysteriously chews up the siding with alarming frequency.

An otherwise tough repair can be fixed with nothing more complicated than a PVC
plank capped on each end with good old fashioned Bullseye Moulding.

Get yours today!(Click for large image)